I love topiaries. I think they add just that extra touch to a grouping. I have never bought any because I always thought that they were a little pricey. Well now I know why:o) More on that in a minute...
I have been eyeing these topiaries in the Ballard Design catalog for quite a while now.

Each one starts at $19 and goes up to $29. I am not willing to pay that. I am cheap. I know that about myself. So I thought I would try to make one. I have had the stuff to do it for a few days, but couldn't find the time to sit and put it together until 5 a.m. yesterday...yes you read right...my wonderful son woke up at 4 A.M. hollering for me, telling me to come here right now. When I finally made it to his room, stumbling, trying to walk straight since my legs were still in bed, he informed me that he wanted Daddy???? WHAT!! After making sure that he understood that everyone in the house was asleep but us, I tried to go back to sleep....after an hour of tossing and turning I decided to head to my craft closet. I saw all the supplies for the topiary lying on the floor and thought why not tackle this now, with no interruptions. So here's what you need.
-1 Styrofoam ball (I used a 3" ball, but you could use a smaller one)
-Greenery, get the good stuff. Mine came from H.L. and it was $15.99 BEFORE the 50% off sale.
-Patience
-Hand Saw
-Tree
-Small Pot
-Styrofoam for pot
-A little green stuff for inside the pot
Pull or cut off pieces to stick down in ball. The greenery that I purchased was nice b/c the pieces just pulled right off of the stems. They were between 3" and 4" long. I just shoved them down in the ball....didn't use a glue gun, just shoved them in far enough to stick. Make sure to keep the pieces fairly close. This will take about an hour:o)
When you have neared the end, make sure to leave a space for your stick. You will find said stick out in your yard. This is where the hand saw comes into play.

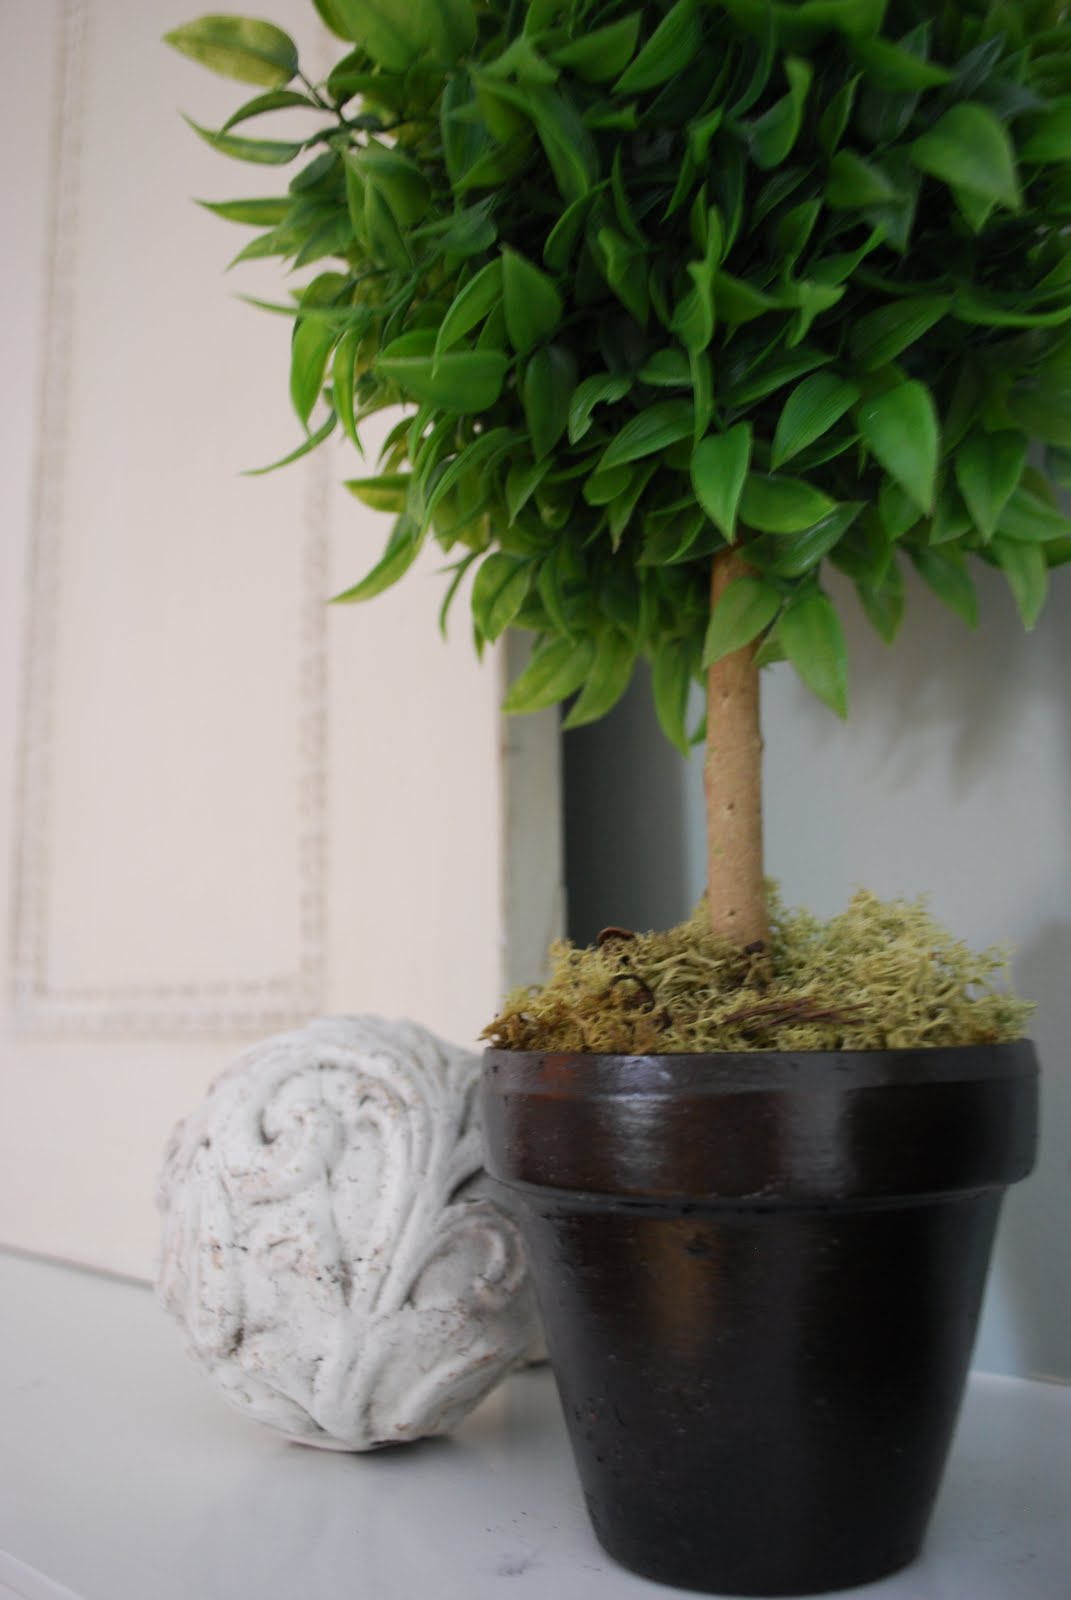
Find the nearest tree that has some firm branches about a half inch thick and are somewhat straight, and hack it off. Force it in the bottom of the ball, making sure to put it in straight:o) Place Styrofoam in the bottom of the pot, and force the other end of the stick in the foam.Cover the base of the topiary with moss. I had some sitting in another basket, so I borrowed some from it;o) The pot was something I had in the backyard with a dead plant in it. I just spray painted it and it was good to go.

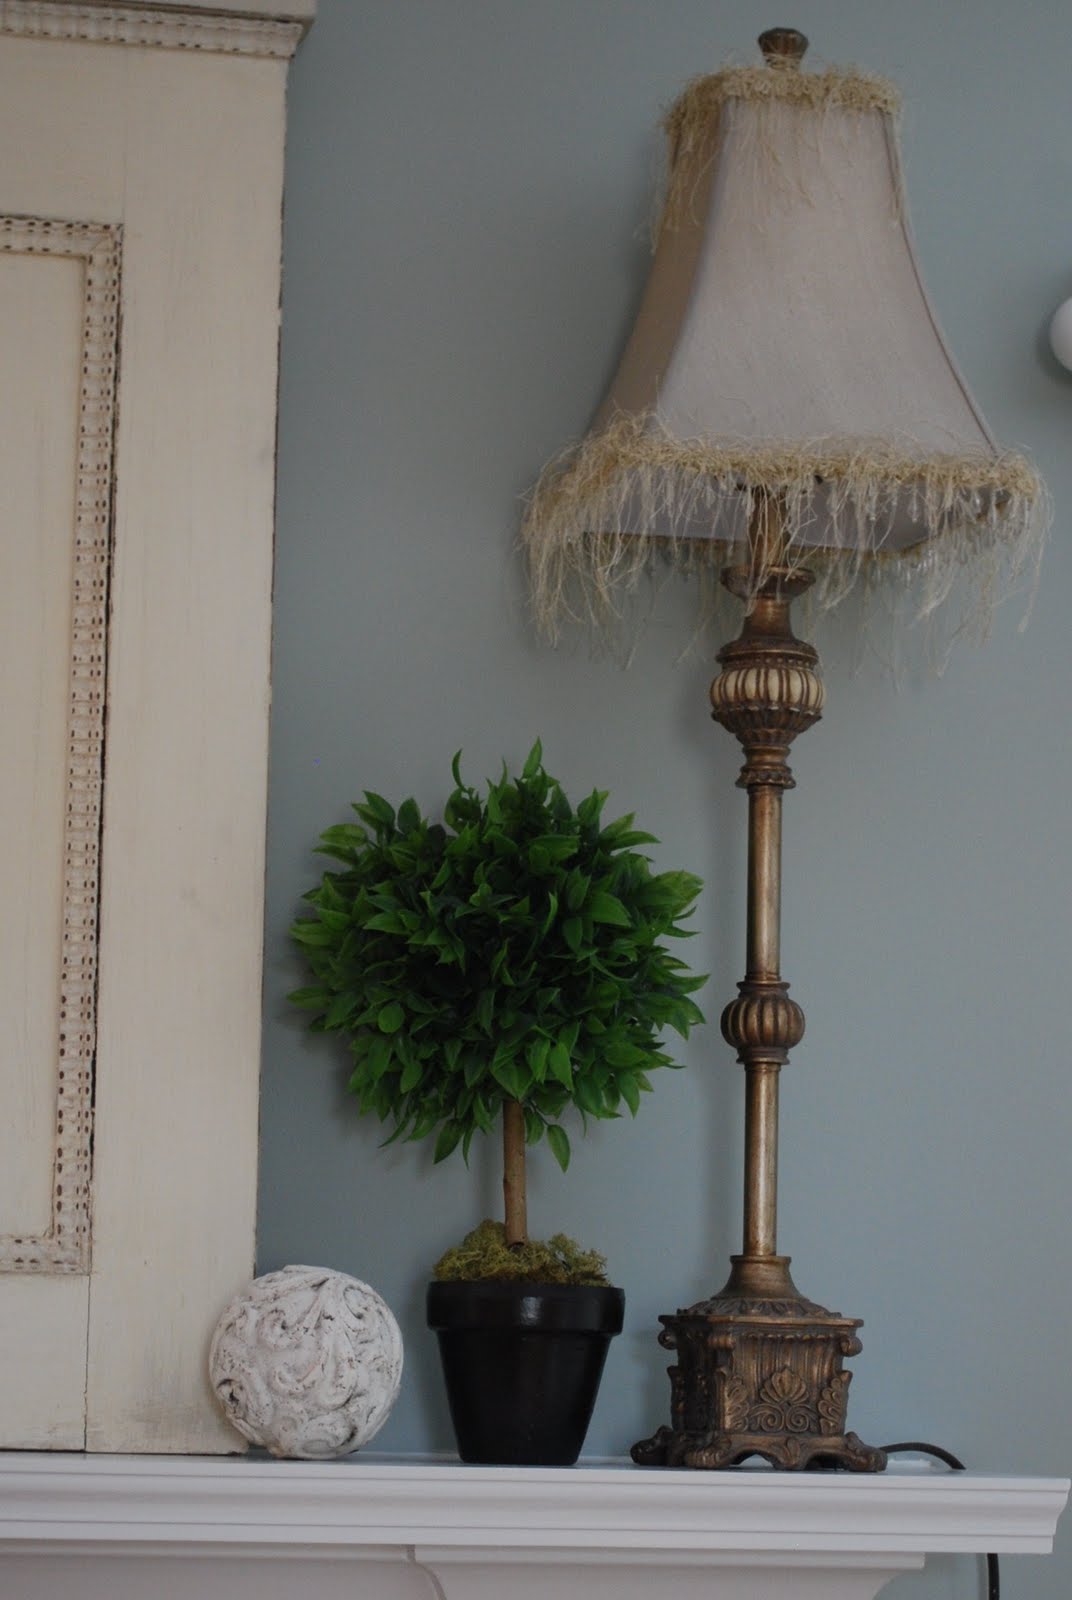
I really like how it turned out. This topiary cost less than $10 to make, but it was time consuming, so that may be why these things are so stinking expensive:o)

I think it works nicely on the mantle. I have plans to make a sign to put in front of the headboard. I just need some old wood....got any?;o)
Well that's it for Tuesday Tutes....my "Powder Room" is almost complete. I found a lot of good stuff from H.L. today. Just a few more finishing touches before the big reveal.