I.am.ready.for.fall.
Since Fall is around the corner, and I have a few spare moments with the kiddos back in school, I have been able to catch up on some decor projects I have been wanting to tackle.
One of them being a burlap wreath.
You can't have Fall without a burlap wreath. It's in the rule books somewhere...I'm sure of it.
There are so many different styles. Raggedy, bubbly, smooth, etc. I went for more of a shabby look...sounds better than raggedy, right?
Today I'm sharing how quick and easy this project is.

Your list of supplies:
3 yards of burlap(I used two colors)(Burlap is $3.99 at my Hobby Lobby. I used a 40% off Q)
Wire hanger(Joan Crawford would die)
Needle Nose pliers
Scissors
Tape Measure

Start off by cutting your strips. I cut mine at 5" wide.
Then you will want to straighten out the wire hanger.

Once all of the burlap is cut, do a fan fold. When finished, you will roughly have a 5x5 square.

Thread the wire hanger through the square.

While threading, the wire hanger was flopping around. This was driving Max bananas..it was fun to watch;o)

After all of the burlap is threaded onto the hanger, twist the ends together. I ended up snipping about 3" off of each side.
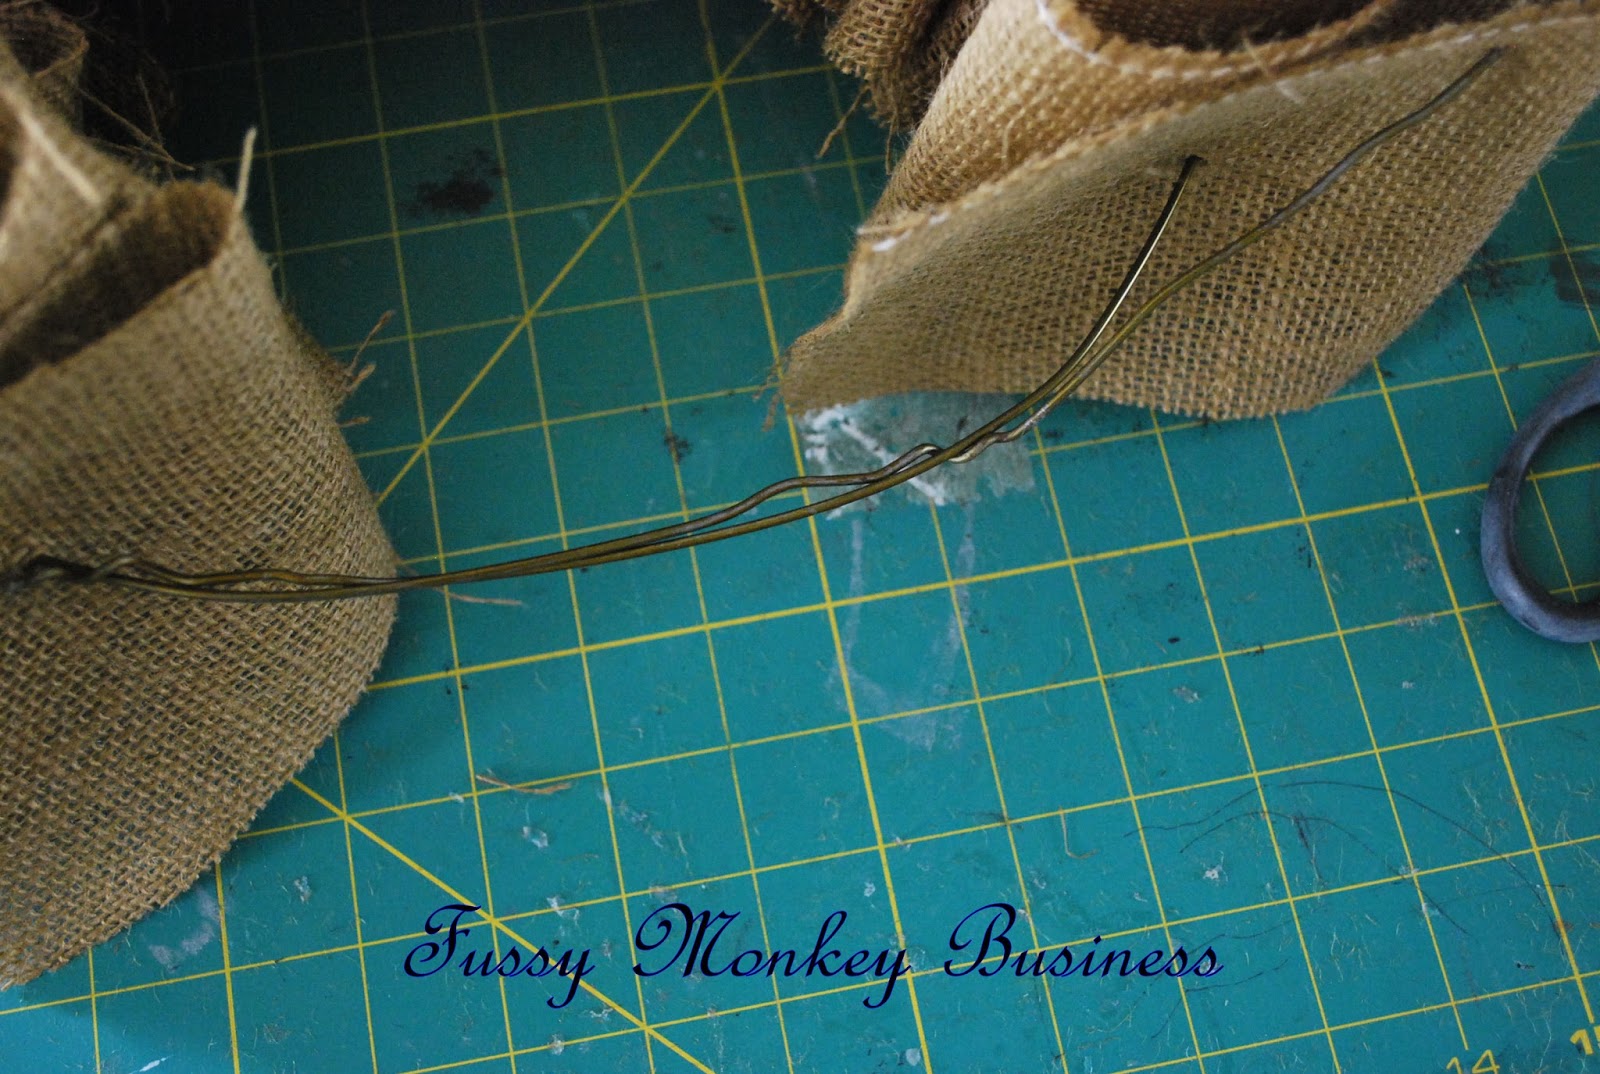
Twist it all together as best you can.

Flip, and hang on a wreath stand.

This project took less than an hour from start to finish, and was less than $10. Easy peasy. I'll have some more step by step fall decor coming your way soon!